Digital Planners: Making them Work for You
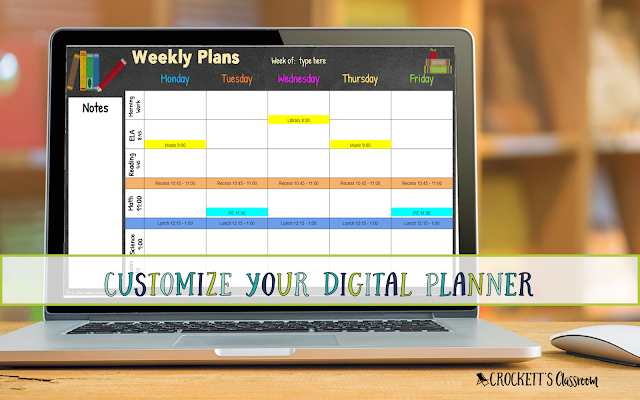
One of the biggest advantages of digital planners is being able to customize it to be exactly what you need. Customizing can be as simple as typing in your name and class information to adding columns and rows in a table. I’ve put together directions and a few videos that will help you customize your digital planner.
Before you begin customizing your digital planner I highly recommend making a copy of the original file and saving it with a new name. This will preserve the original version. You’ll want to keep the original untouched, just in case you want to go back and begin the customizing again.
The digital planner I’m customizing is in Google Slides, but the directions for PowerPoint would be almost the same.
Editing text boxes: You’ll know a text box is editable when you click in the box and see a blue frame. When you see that frame you can change the text in that box. Now you can change the font, font size, and font color. And, of course, you can change what the text says. If you want to move the text box, click on the frame. You’ll see the four-sided arrow and can then drag the box to a new location. Click outside the text box when you’re finished. You can also do a copy/paste for the text inside a box, or the entire text box. Ctrl C will copy and Ctrl V will paste.
Editing Tables: The core of any planner is the planning pages. Most weekly planning pages are created with tables. The first thing you need to decide is where you like the subjects and the days. You can have the subjects on top and days down the side or days across the top and subjects down the side. After you decide which style you want, delete the other slide. (Don’t worry, you have the original version saved so you can get that page back later if you change your mind.)
Now, you’re ready to adjust the table for the number of subjects you have. With the subjects at the top of the columns, you can add or delete columns. If your subjects are down the side, you can add or delete rows.
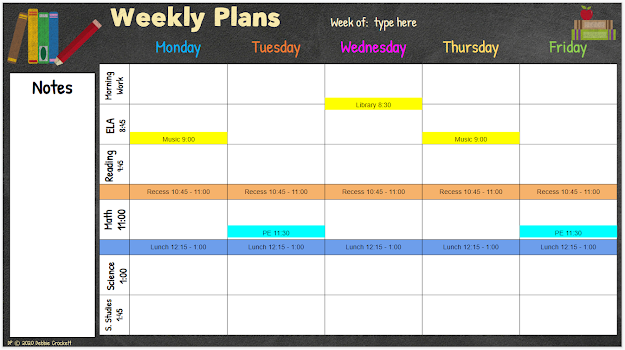
The first thing I do is things in my schedule that are the same every week. I add a column or row with recess and lunchtime. If my specials (music, PE, and library) are the same time every day, that will be another row or column. If my special are at different times each day, I can split a cell, or add a text box to a cell.
After you have the weekly plan page set up, you can duplicate that page for each week of the school year. I usually duplicate it for just the weeks in the first quarter, just in case I need to make changes for the next quarter.
Here’s an example of a planner page set up with rows for lunch and recess. Text boxes for music, PE, and library have been added, too.
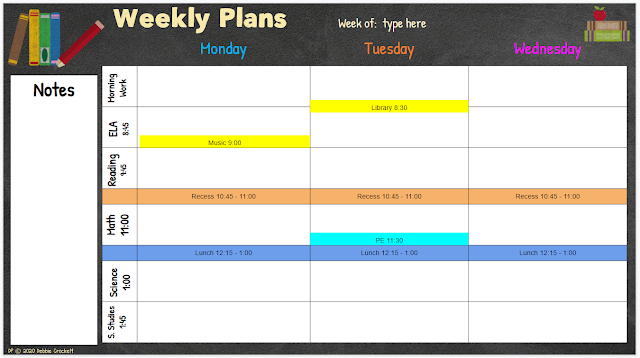
Here’s another trick. If you want more room to type in your plans, you can split the plans for one week into two slides. You’ll need to use the plan page with the days across the top.
I hope you'll check out my digital planner. It has dozens of pages to keep your information


