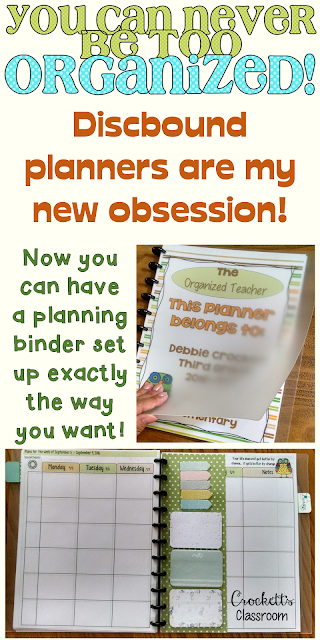
I may be a little late to the planner obsessions, but now I'm hooked! I've always loved putting together my teacher binder at the beginning of the school year and a three-ring binders was my organization tool of choice. I loved how easy it was to arrange everything and add or remove pages. I saw other teachers with pre-made planners and thought they looked very nice, but I didn't like the idea of someone else choosing what I put in the planner. But now, I've found the perfect combination of binder and planner . . . the discbound planner system. I love, love, love them!
There are several different brands. Two of the easiest to find in local stores are from Staples (Arc system) and Office Depot (TUL).
If you're not familiar with the discbound system, here's a great video introduction.
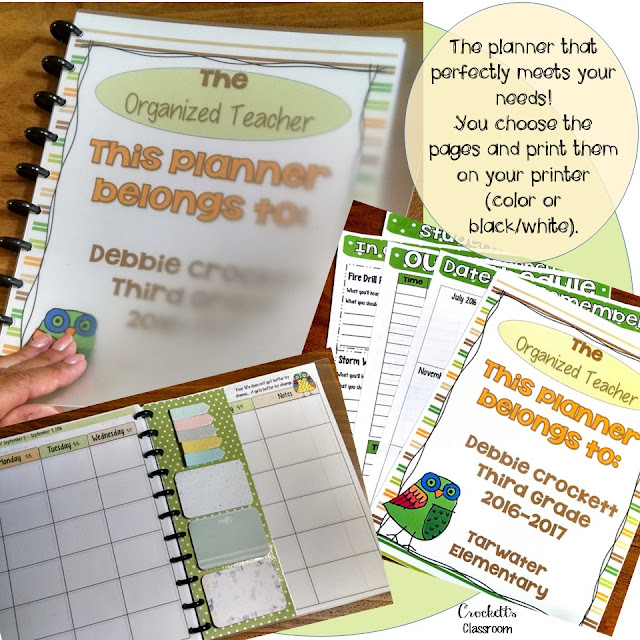
I started my first discbound planner with a letter size, frosted cover planner from Staples. I also bought the small page punch, which is needed to punch the holes for the pages you want to add. There are so many accessories you can buy, but I wanted to start simple and grow. As soon as I got home I started looking online for ideas of how other teachers had put their planners together. I started watching video after video with tutorials for making all the cool accessories. Being a frugal and crafty teacher, I'm now having a blast creating all the goodies that go in my planner.
Here's what I've done so far.
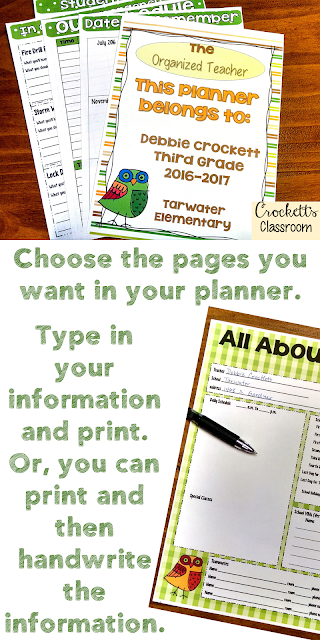
Step 1: Decide what pages I wanted in my planner. You can either create the pages yourself in PowerPoint or buy a packet from a TPT seller. Of course, I used the Organized Planner from my own TPT store. Then you can print the pages you want to go in your planner.
My old printer recently died so I bought a new one that prints double sided. Much easier when printing for a planner. If your printer does single sided only, you can print all the odd number pages. Then put the paper back in and print the even number pages.
I chose pages with teacher and student information, calendars, long and short range planning pages, and grade/record keeping pages.
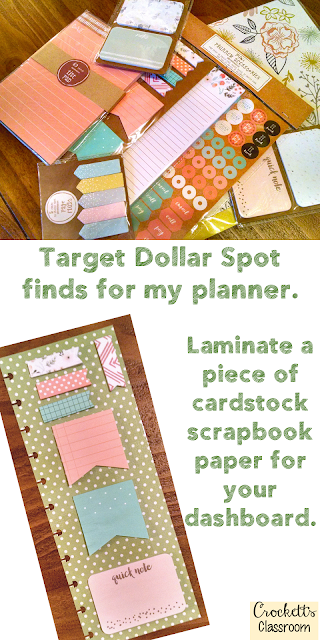
Step 2: Add the extras-- This is where the fun starts! The first thing I made was a dashboard. All I did was laminate a piece of scrapbook card stock. Then I added these cute sticky notes from the Dollar Spot at Target.
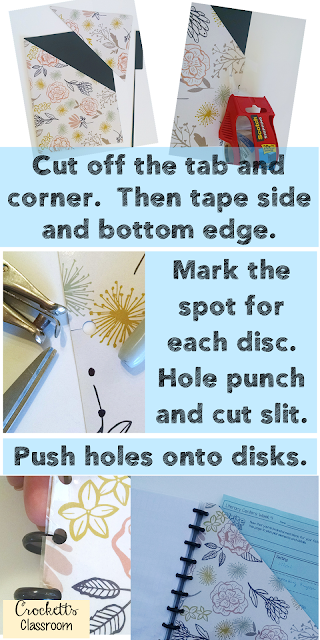
Next I made a pocket made from a Target Dollar Spot folder. Trim off the tab and a large chunk of the front corner to make the pocket. I taped the edges to make the pocket a little more sturdy. Next, I laminated it and scored across the pocket to open it. Since the folder is thick It wouldn't fit into the small page punch made for the discbound pages. So I used the cover of my planner to mark where the holes should be. Then I punched the holes with a regular paper punch and cut a slit with scissors. Now I have a pocket to hold notes, reminders, etc.
That's what I have so far in my teacher planner. What do you think is handy to have in your teacher planner?



1 comment
I appreciated the importance of gliders after becoming a single mother after a divorce https://onlinedivorcecalifornia.com
Nobody helps me, and I have three children, a house and a job. There are so many things to do that you can't remember them all.
Post a Comment